Children become botanists as they examine sunflowers from seed germination through flowering. Children and families are encouraged to view cultivated flowers in their own garden setting as well as observing wildflowers in a local meadow.
Botanists study plant parts. You will raise a sunflower from seed learning about the parts of the plant. You will examine and sketch a sunflower and apply what you have learned out about the flower type in the meadow. Created By Nancy Yard, RHA Volunteer and Educator
Level: Elementary, Middle, Families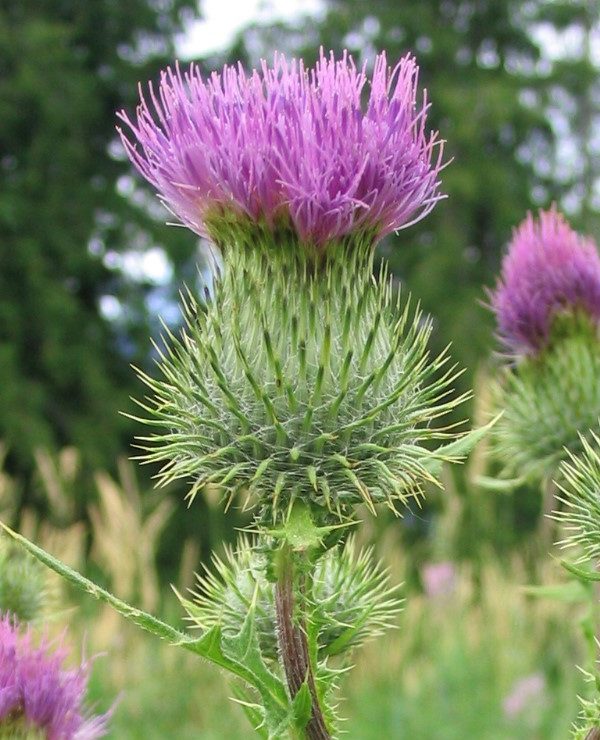
Duration: 7 to 50 days
Setting: This lesson is designed to take place in your home, your backyard, and a local meadow.
Materials:
- Activity 1: Germination: Cup, paper towel, sunflower seeds, hand lens
- Activity 2: Examine and Sketch the Flower: measuring spoon or cups, pencil, colored pencils, crayons, sunflower head, hand lens
Background Information: The lesson is divided into two activities. The first activity consists of raising and observing a seedling. The second activity consists of observing and drawing a composite flower. This is one of the most abundant flower types in our meadows. The lessons can be done individually.
The Activity 1: Sunflowers from Seed
Sunflowers grow quickly. They are fun and easy to observe. Inside each seed is a tiny living plant. Germination is the term used to describe the stage where the plant begins to grow from a seed. You encourage your seed to germinate by providing moisture and light. When your plant has developed roots, a stem, and true leaves it is ready to plant in your garden.
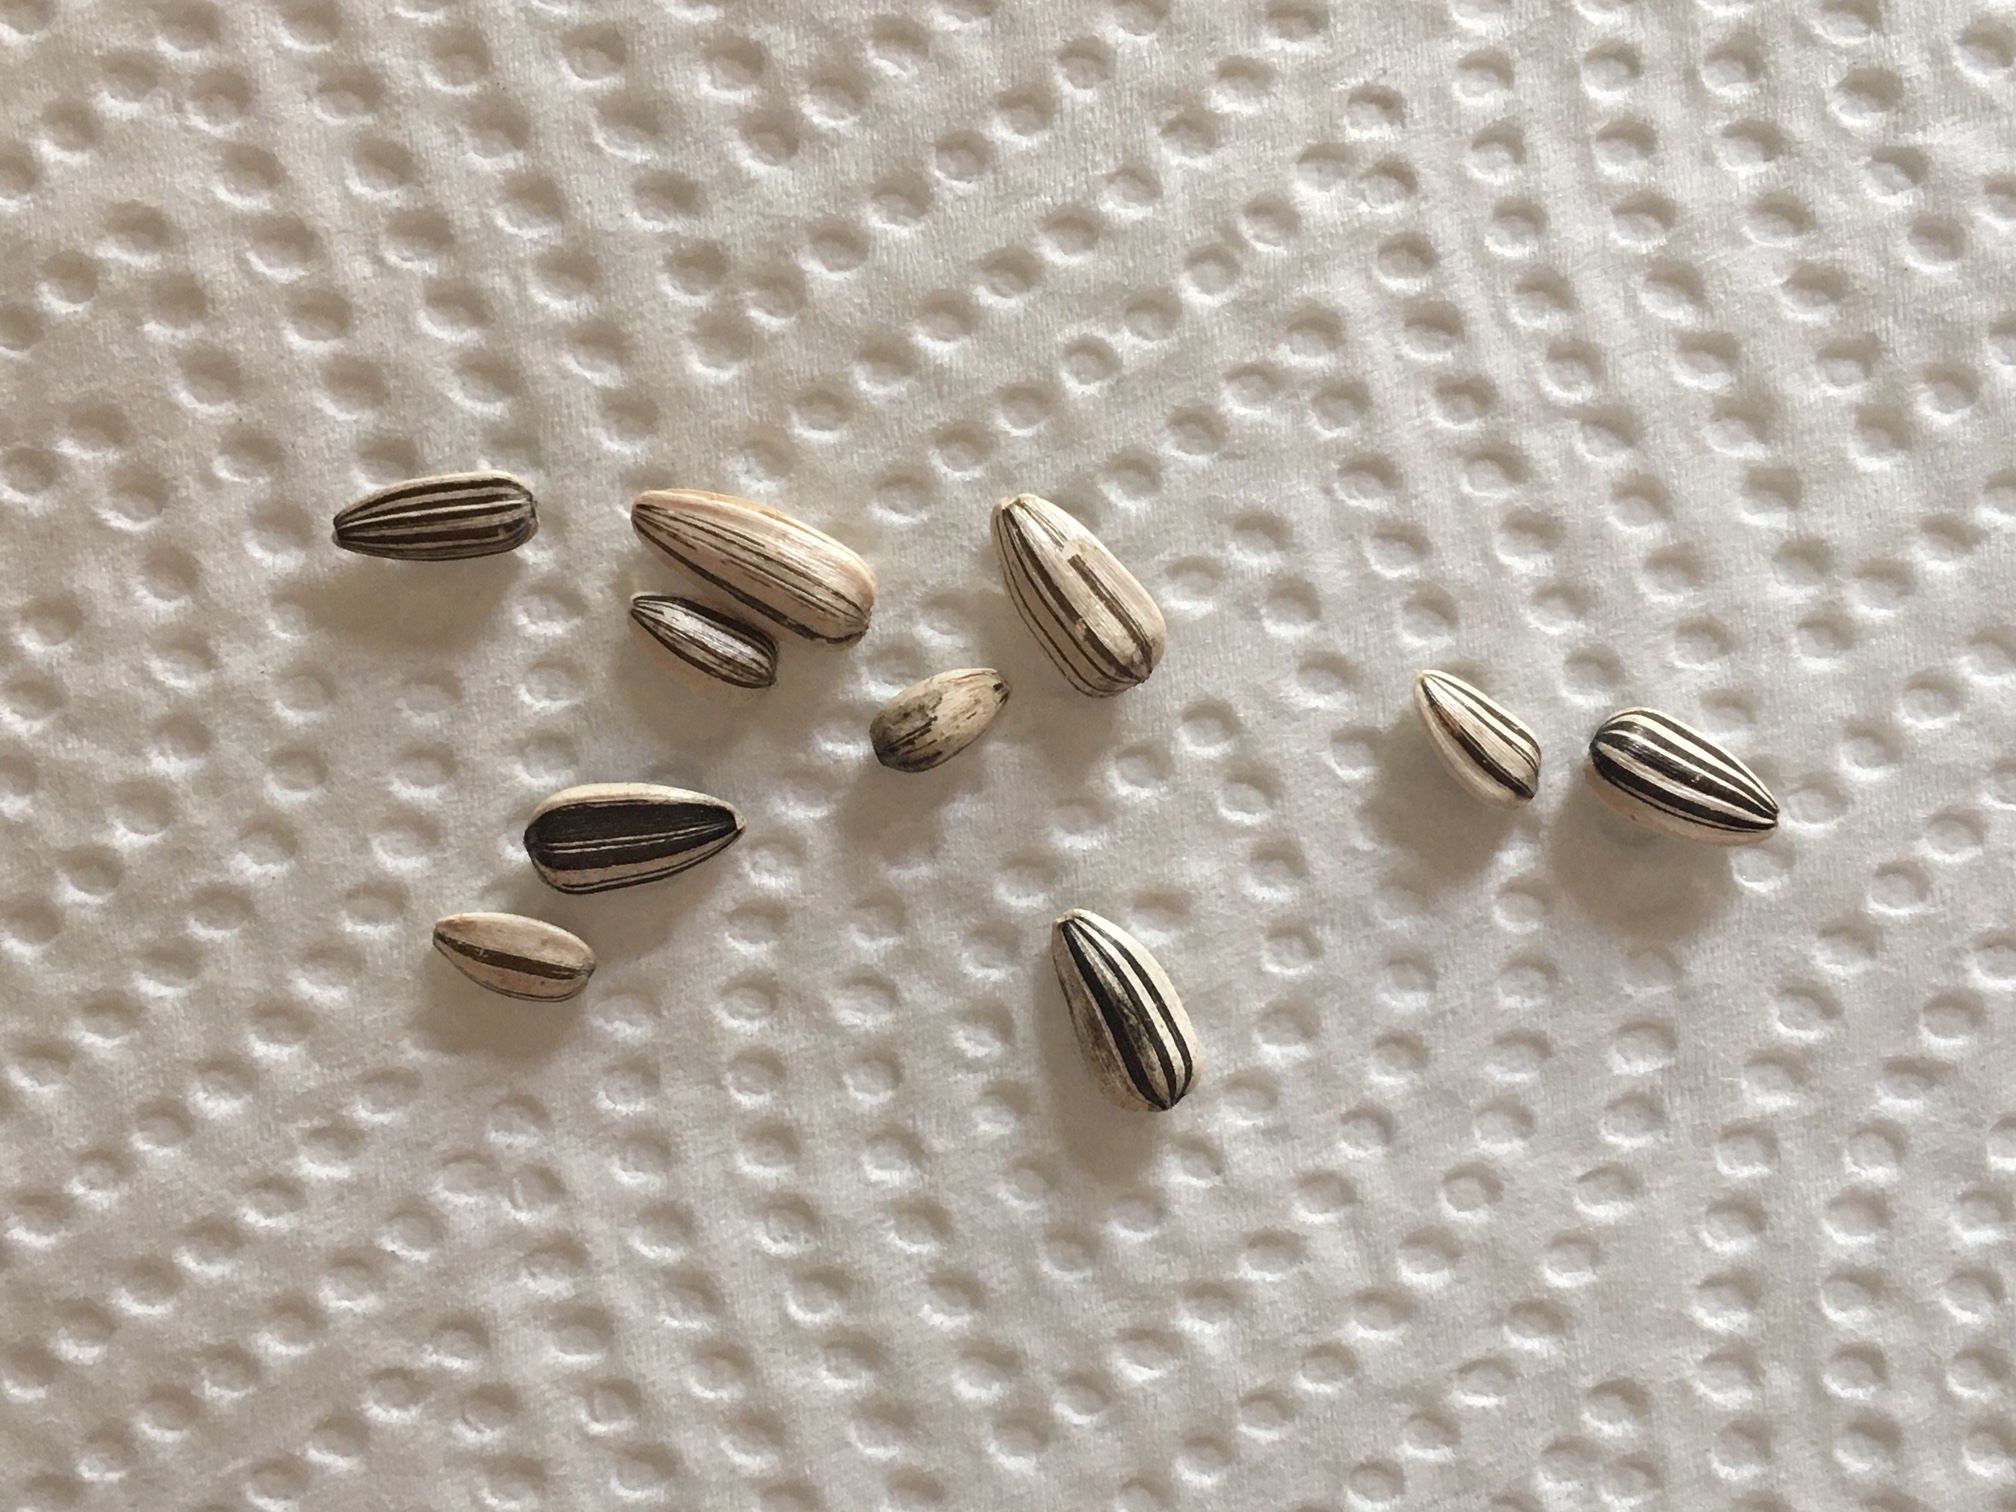
- Purchase sunflower seeds or use sunflower bird seed (in the hull or seed shell).
- Moisten a portion of paper towel the size of your cup. and place sunflower seeds on the paper towel.
- Place in side of cup being sure to press firmly with seeds facing out.
- Place a small piece of moist towel inside the bottom of the cup to help maintain moisture as the seeds germinate.
- Place in sunny window. Mist or moisten the towel until the seeds are ready to be transplanted. Towel should be kept moist. Water should not puddle or collect inside the cup.
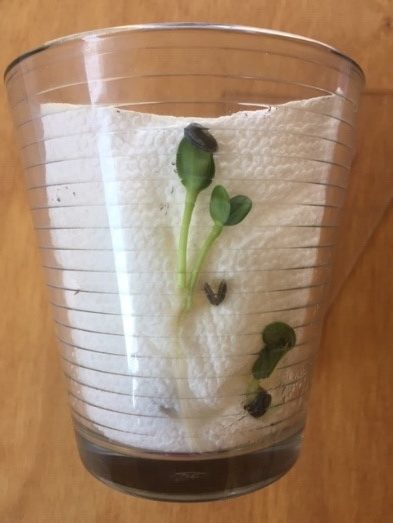
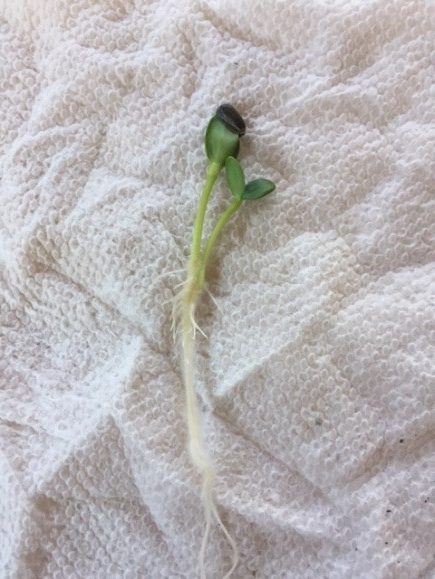
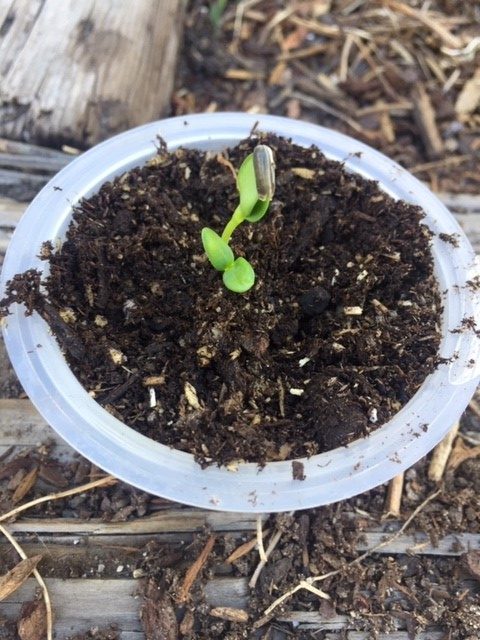
- Using your hand lens observe the individual plant parts as they develop.The seed coat will split open and the radicle or first root will emerge. The root grows down.
- The first seed leaf or cotyledon will form at the top.
- Now it is time to plant your newly formed sunflower sprout.
- Spread out your paper towel and observe your newly sprouted sunflower plants. Locate the roots, stem, and first seed leaves.
- Fill a recycled container with garden/potting soil. Level and firm the soil. Place a hole to accommodate the roots of your plant.
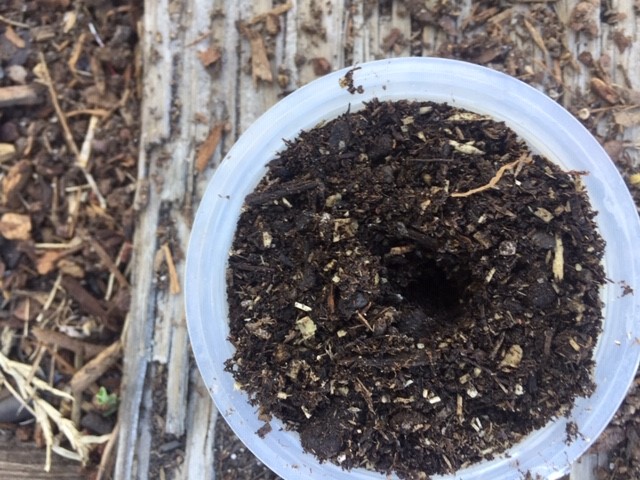
- Holding your plant carefully by the first leaf place the roots into the hole. Firm the soil around the roots so the stem is upright.
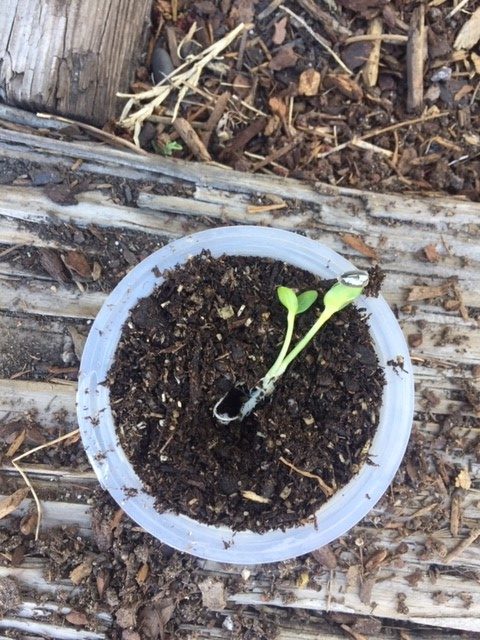
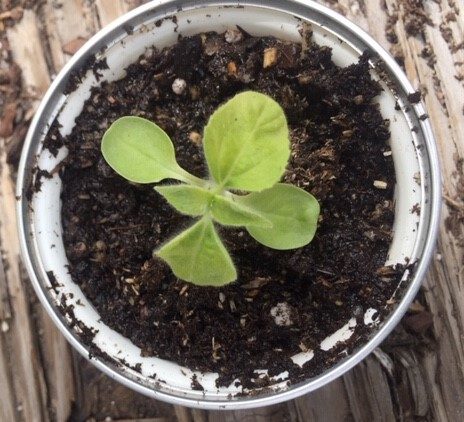
- Place in a sunny window. Water to keep moist. Observe your plant as it grows its first true leaves. True leaves often look different than the seed leaves or cotyledons that first develop.
- Your plant is ready to go in the garden after the last frost. In New Jersey this is approximately between May 1st to the 15th. It is beneficial to get your plants ready for the planting by placing them outdoors a few hours a day for one week. Sunflowers do best in a sunny location with lots of room to grow.
Activity 2 Examine and Sketch the Flower
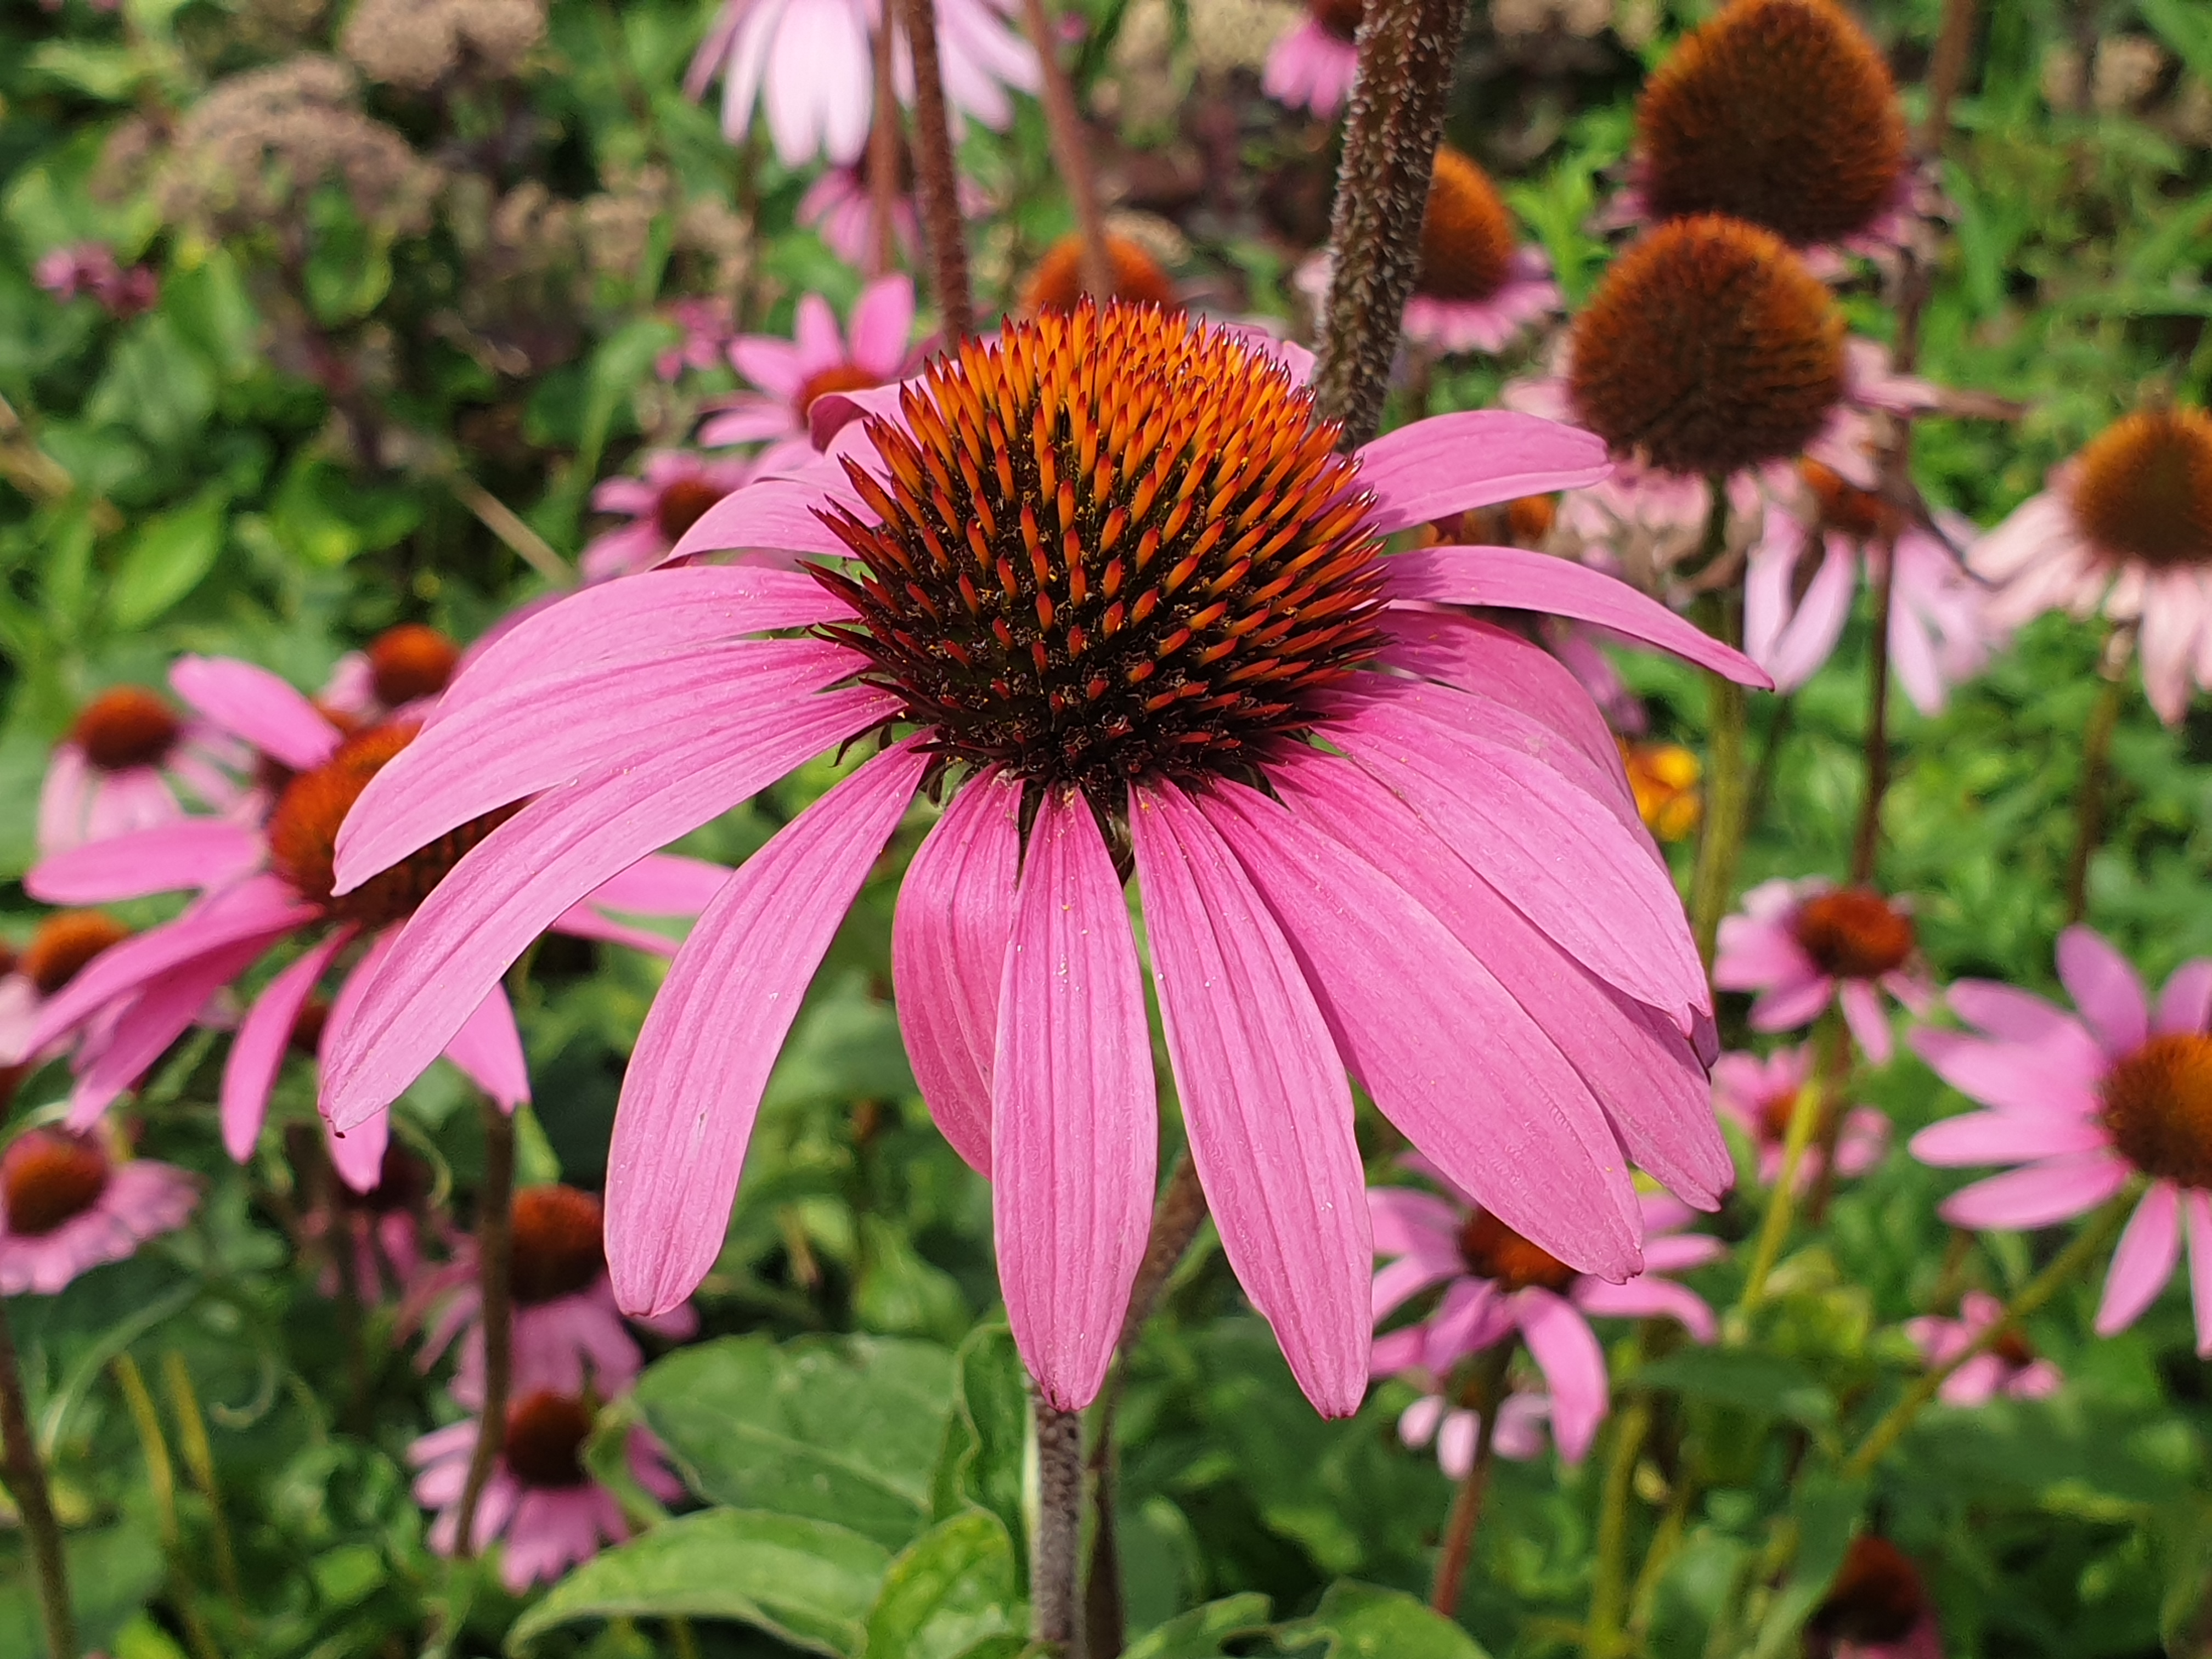
- Select a sunflower head to examine. We think of the head as one large flower. The large sunflower head is made up of many, many flowers. That is because the head is a composite flower made up of rays and disks. One flower can be made of many ray flowers and disk flowers.
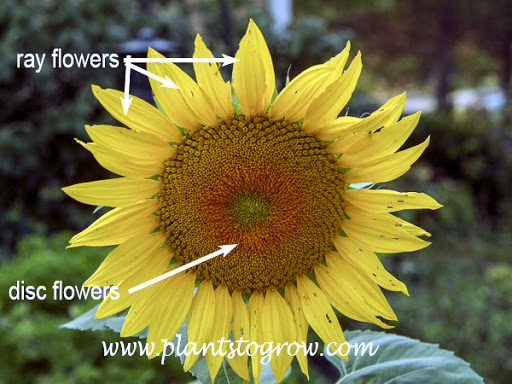
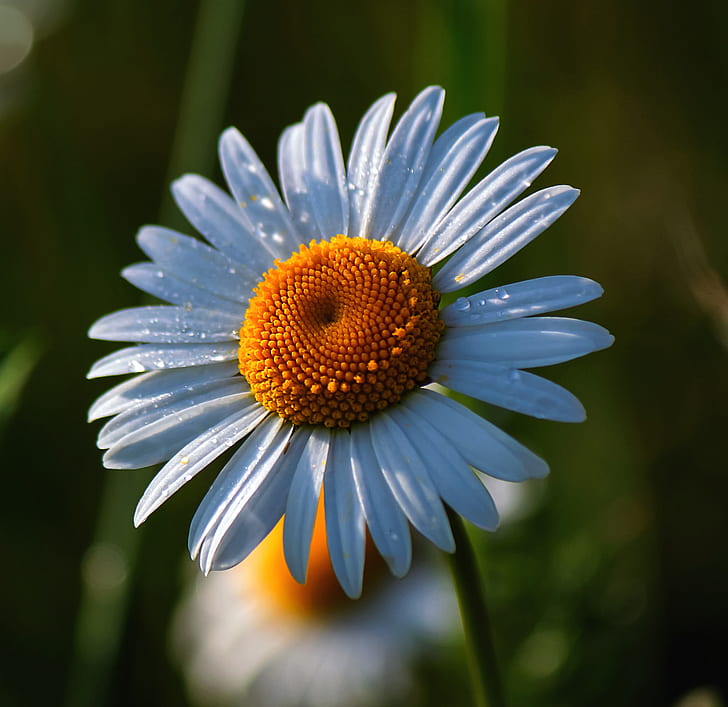
- Using a hand lens examine your sunflower head. Identify the disks flowers at the center of the head. They are often darker in color. The ray flowers are what we refer to as the petals and are often lighter in color. The disks and rays give the flower head two striking colors making it the sunflower that we recognize in abundance in farm fields.
Identifying the rays: the yellow petal like flowers, Identifying the disks: the dark brown center
- Count the rays on your flower head. Estimate or make your best guess for the amount of disks in your head.
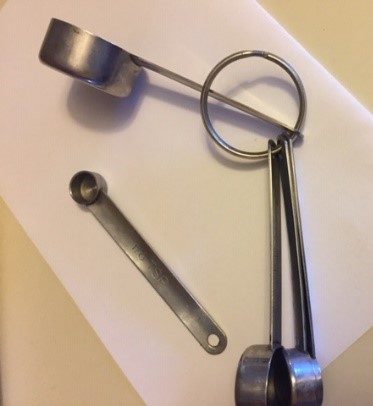
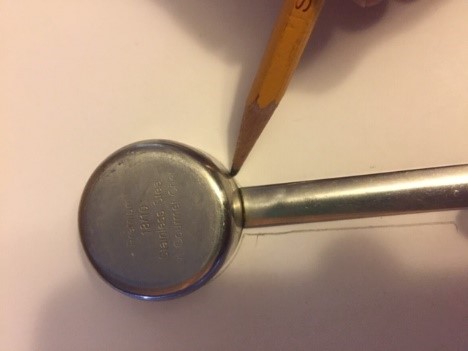
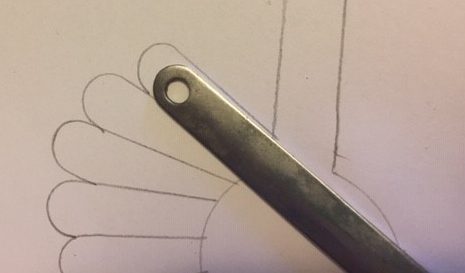
- Sketch the flower head using measuring spoons and/or measuring cups
- Color the disks and rays.
- Visit a meadow to look for composites. Look for insects visiting the flowers heads. What are they doing? Where are they located?
Why do you think composite flowers are important pollinator plants?
Extensions:
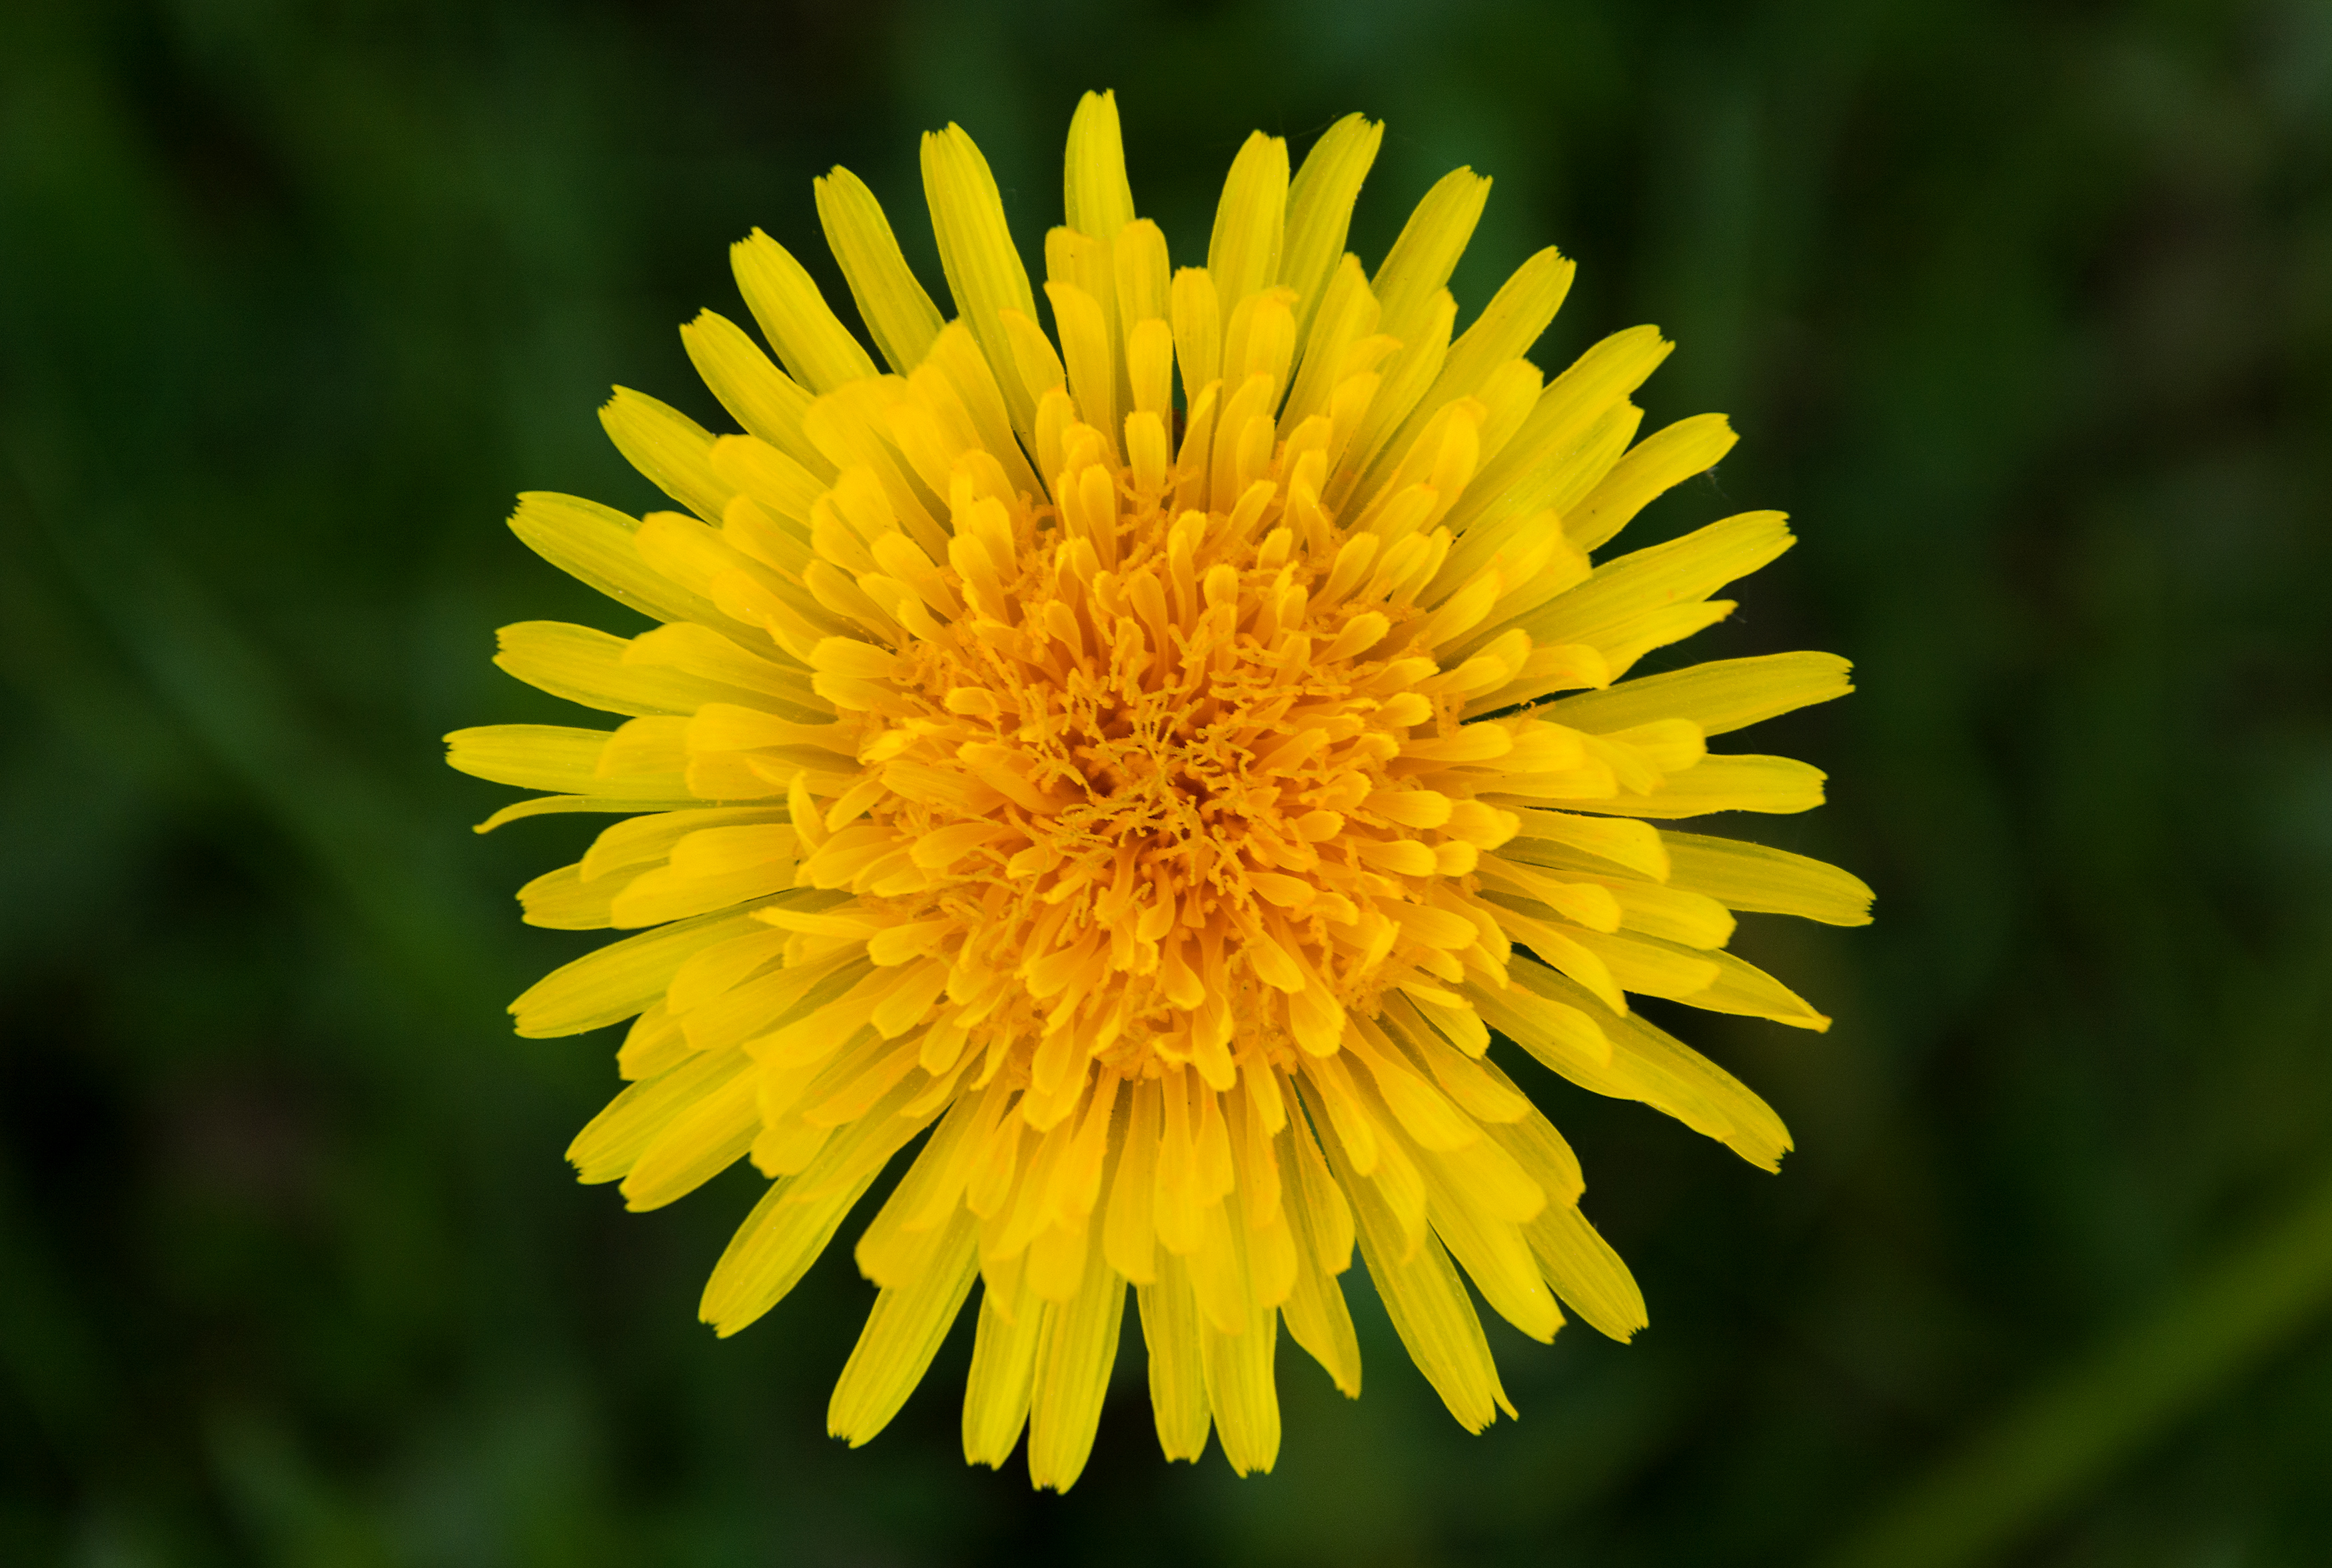
- Look for a dandelion in your yard. Examine a dandelion with your hand lens. Dandelions contain only disk flowers. Observe the tube-like disk flowers that make up the dandelion.
- Can you find flowers in the meadow made up of only disk flowers. Hint: Search for purple thistle flower heads common in our meadows.
- Purchase or borrow a Golden Guide to Wildflowers and learn more about the wildflowers in your meadow. Visit the meadow in different seasons. Sketch the flowers
How did you like this activity? Please share any questions, comments, or photos that you and your child have on the Raritan Headwaters Learning Community Facebook Page!
More Raritan Headwaters Learning Resources